Installing epoxy flooring involves several steps, each crucial for ensuring a durable and aesthetically pleasing finish. Knowing what to expect during the installation process can help homeowners and business owners plan accordingly. Let’s break down the typical timeline for installing epoxy flooring and the necessary preparations.
Initial Consultation and Assessment
The first step in the installation process is an initial consultation and site assessment. During this stage, a professional will evaluate the area, discuss your requirements, and provide an estimate.
Timeline: 1-2 days
Preparation Tip: Clear the area of any furniture or obstacles to facilitate a thorough assessment.
Surface Preparation
Proper surface preparation is essential for a successful epoxy flooring installation. This involves cleaning the existing floor, repairing any cracks or damage, and ensuring the surface is free of dust and debris.
Timeline: 1-3 days
Preparation Tip: Ensure the area is dry and free of any moisture, as this can affect the adhesion of the epoxy coating.
Applying the Primer
The next step is applying a primer, which helps the epoxy adhere better to the surface. The primer is typically applied with a roller and allowed to dry completely before proceeding.
Timeline: 1 day
Preparation Tip: Allow adequate ventilation in the area to speed up the drying process.
Applying the Epoxy Coating
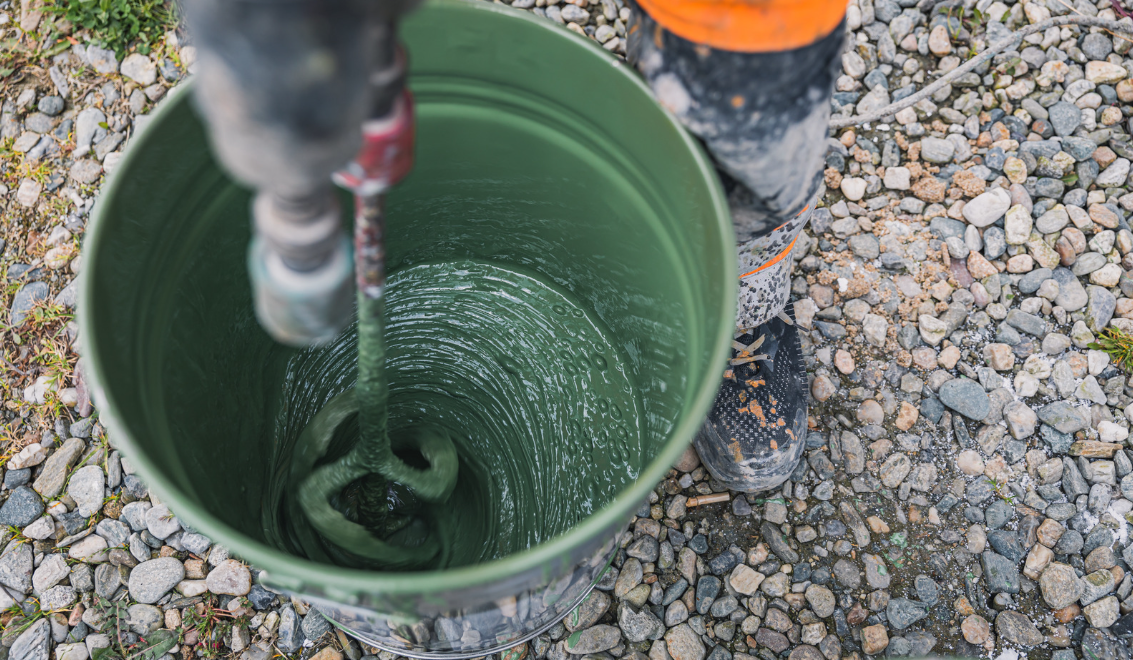
Once the primer is dry, the epoxy coating is applied. This involves mixing the epoxy resin with a hardener and applying it to the floor. Multiple coats may be necessary, depending on the desired thickness and finish.
Timeline: 2-3 days
Preparation Tip: Keep the area well-ventilated and avoid walking on the floor until the epoxy has fully cured.
Adding Finishing Touches
After the epoxy coating has been applied, any desired finishes, such as decorative flakes or non-slip additives, are added. This step enhances the appearance and functionality of the floor.
Timeline: 1 day
Preparation Tip: Consult with your installer about the best finishes for your specific needs and preferences.
Curing Time
Curing is a critical phase in the epoxy flooring installation process. The epoxy needs time to harden and fully adhere to the surface. During this period, the floor should be kept free of any traffic or heavy objects.
Timeline: 7 days
Preparation Tip: Plan the installation during a time when the area can remain undisturbed for at least a week.
Final Inspection and Touch-ups
After the epoxy has fully cured, a final inspection is conducted to ensure the flooring meets quality standards. Any necessary touch-ups are made at this stage.
Timeline: 1 day
Preparation Tip: Be present during the final inspection to address any concerns or questions with your installer.
Cost Considerations
The cost of installing epoxy flooring varies based on the size of the area, the type of epoxy used, and any additional finishes. On average, homeowners can expect to pay between $3 to $12 per square foot.
Cost Insight: For a standard 2-car garage (approximately 400 square feet), the cost can range from $1,200 to $4,800.
When to Call a Professional
While some may consider DIY epoxy flooring, hiring a professional ensures a high-quality finish and long-lasting durability. Professionals have the expertise and equipment necessary to handle all aspects of the installation, from surface preparation to final curing.
Expert Tip: For large or complex installations, professional assistance is recommended to avoid common pitfalls and ensure a flawless result.
Understanding the timeline and preparation involved in installing epoxy flooring can help homeowners and business owners plan effectively. From initial consultation to final inspection, each step is crucial for achieving a durable and aesthetically pleasing finish. At Epoxy Flooring Burnaby, we are committed to providing expert installation services tailored to your specific needs. Contact us today to schedule a consultation and transform your space with high-quality epoxy flooring.


